Painting a Narrowboat How To: Tips and Techniques for a Professional Finish
Painting a narrowboat can be a daunting task, especially if you’ve never done it before. However, with a little bit of preparation and some patience, anyone can achieve a professional-looking finish. Whether you’re looking to touch up some areas or completely repaint your narrowboat, this article will guide you through the process step-by-step.
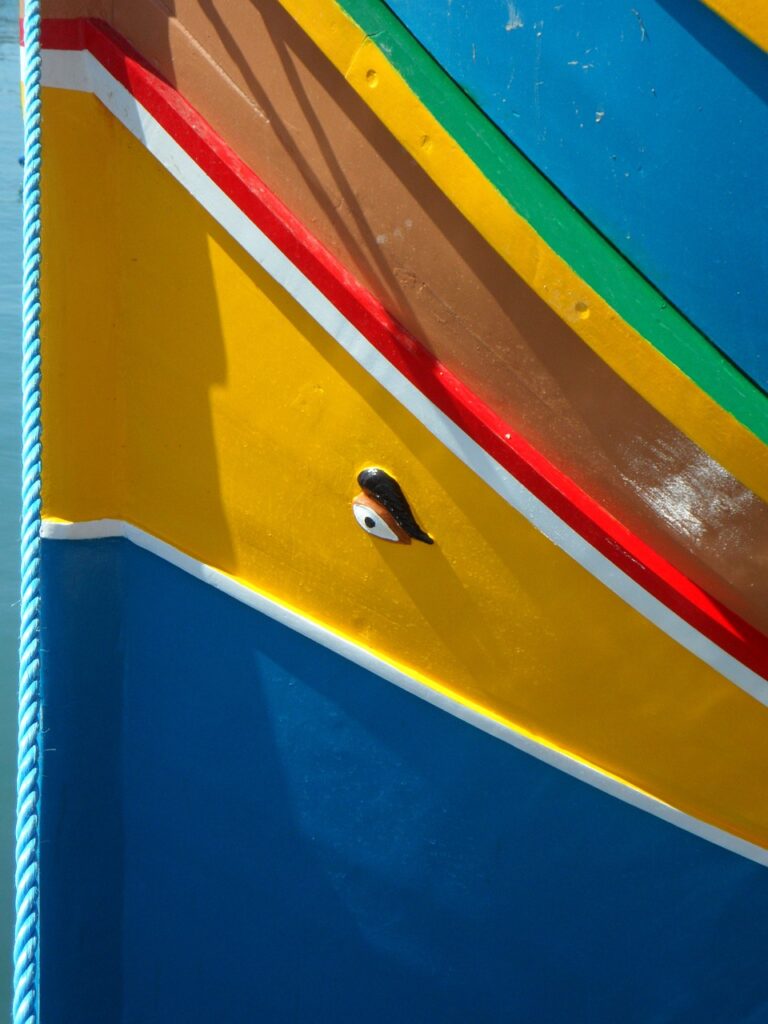
Before you begin, it’s important to choose the right type of paint for your narrowboat. Marine paints are specifically designed to withstand the harsh conditions of being on the water, so they are the best option. There are different types of marine paints available, such as one-part and two-part paints, so it’s important to choose the one that is best suited for your narrowboat. In addition, it’s important to choose the right colour and finish, as this will affect the final look of your narrowboat.
Surface Preparation
Before starting to paint a narrowboat, it is essential to prepare the surface properly. Surface preparation is crucial to ensure that the paint adheres correctly and provides a long-lasting finish. This section covers the two primary steps of surface preparation: cleaning the surface and sanding the surface.

Cleaning the Surface
The first step in surface preparation is to clean the surface thoroughly. The surface of a narrowboat can accumulate dirt, grime, and other contaminants that can affect the paint’s adhesion. To clean the surface, follow these steps:
- Remove any loose dirt or debris using a soft-bristled brush or a vacuum cleaner.
- Use a degreaser to remove any oil, grease, or other contaminants from the surface. Apply the degreaser to the surface and let it sit for the recommended time before rinsing it off with water.
- Rinse the surface with clean water to remove any remaining dirt or degreaser.
Sanding the Surface
After cleaning the surface, the next step is to sand it. Sanding the surface helps to create a rough texture that the paint can adhere to. It also helps to remove any loose or peeling paint. Here are the steps to sand the surface:
- Put on a dust mask and knee pads to protect yourself while sanding.
- Use a coarse sandpaper (80 grit) to sand the surface. Sand in the direction of the grain to avoid damaging the surface. Sand until the surface is smooth and any loose or peeling paint has been removed.
- Use a finer sandpaper (120 grit) to sand the surface again. This step helps to create a smoother surface for the paint to adhere to.
- After sanding, wipe the surface with a clean, damp cloth to remove any dust or debris.
By following these steps for surface preparation, you can ensure that the paint adheres correctly and provides a long-lasting finish.
Priming and Undercoating
Before painting a narrowboat, it is important to properly prime and undercoat the surface. This will ensure that the paint adheres well and lasts longer.
Primer
A primer is a preparatory coating that is applied to the surface before painting. It helps to improve the adhesion of the paint to the surface and also provides a smooth and even base for the topcoat.
When choosing a primer for a narrowboat, it is important to select one that is suitable for marine environments and can withstand the harsh conditions of the water. A marine-grade epoxy primer is a good choice as it provides excellent adhesion and corrosion protection.
Before applying the primer, the surface should be thoroughly cleaned and sanded to remove any dirt, rust or old paint. The primer can be applied using a brush, roller or spray gun. It is important to follow the manufacturer’s instructions for the application and drying time.
Undercoat
An undercoat is applied after the primer and before the topcoat. It helps to provide a smooth and even surface for the topcoat and also improves the durability of the paint.
When choosing an undercoat for a narrowboat, it is important to select one that is compatible with the primer and topcoat. A marine-grade undercoat is recommended as it provides good adhesion and protection against water, UV rays and other environmental factors.
The undercoat can be applied using a brush, roller or spray gun. It is important to follow the manufacturer’s instructions for the application and drying time.
Adhesion
Good adhesion between the paint and the surface is essential for a long-lasting finish. To ensure good adhesion, it is important to properly prepare the surface before applying the primer and undercoat. This includes cleaning, sanding and removing any loose or flaking paint.
It is also important to choose a primer and undercoat that are compatible with the surface and topcoat. Using the wrong type of primer or undercoat can lead to poor adhesion and a shorter lifespan of the paint.
By properly priming and undercoating a narrowboat, you can ensure a smooth and durable finish that will last for years to come.
Choosing the Right Paint
When it comes to painting a narrowboat, choosing the right paint is crucial. The paint needs to be durable enough to withstand the harsh marine environment, while also providing a pleasing aesthetic. In this section, we will discuss the different types of paints available and how to choose the right colour scheme.
Types of Paints
There are several types of paints available for narrowboat painting. The most common types of paints are:
- Epoxy Paints: These are high-performance paints that offer excellent durability and protection against water, UV rays, and chemicals. They are perfect for painting the hulls of narrowboats.
- Polyurethane Paints: These are also high-performance paints that offer excellent durability and protection against water, UV rays, and chemicals. They are perfect for painting the topsides of narrowboats.
- Acrylic Paints: These are water-based paints that are easy to apply and dry quickly. They are perfect for painting the interior of narrowboats.
Colour Schemes
Choosing the right colour scheme for your narrowboat is important as it can greatly affect its overall appearance. Here are some popular colour schemes to consider:
- Black: Black is a classic and timeless colour that is perfect for narrowboats. It gives the boat a sleek and sophisticated look.
- Red: Red is a bold and vibrant colour that can make your narrowboat stand out. It is perfect for those who want to make a statement.
- Yellow: Yellow is a cheerful and bright colour that can make your narrowboat look more inviting. It is perfect for those who want to create a welcoming atmosphere.
- White: White is a clean and crisp colour that can make your narrowboat look more spacious. It is perfect for those who want to create a minimalist look.
- Cream: Cream is a warm and inviting colour that can make your narrowboat look more cozy. It is perfect for those who want to create a comfortable atmosphere.
- Gold: Gold is a luxurious and elegant colour that can make your narrowboat look more high-end. It is perfect for those who want to create a sophisticated look.
When choosing a colour scheme, it’s important to consider the overall style of your narrowboat and what kind of atmosphere you want to create. It’s also a good idea to choose colours that complement each other and the surrounding environment.
In conclusion, choosing the right paint and colour scheme for your narrowboat can greatly enhance its appearance and durability. With the right knowledge and guidance, you can create a beautiful and functional space that you can enjoy for years to come.
Application Techniques
Brushes and Rollers
When it comes to painting a narrowboat, using the right tools is essential. Brushes and rollers are the most common application tools for painting a narrowboat.
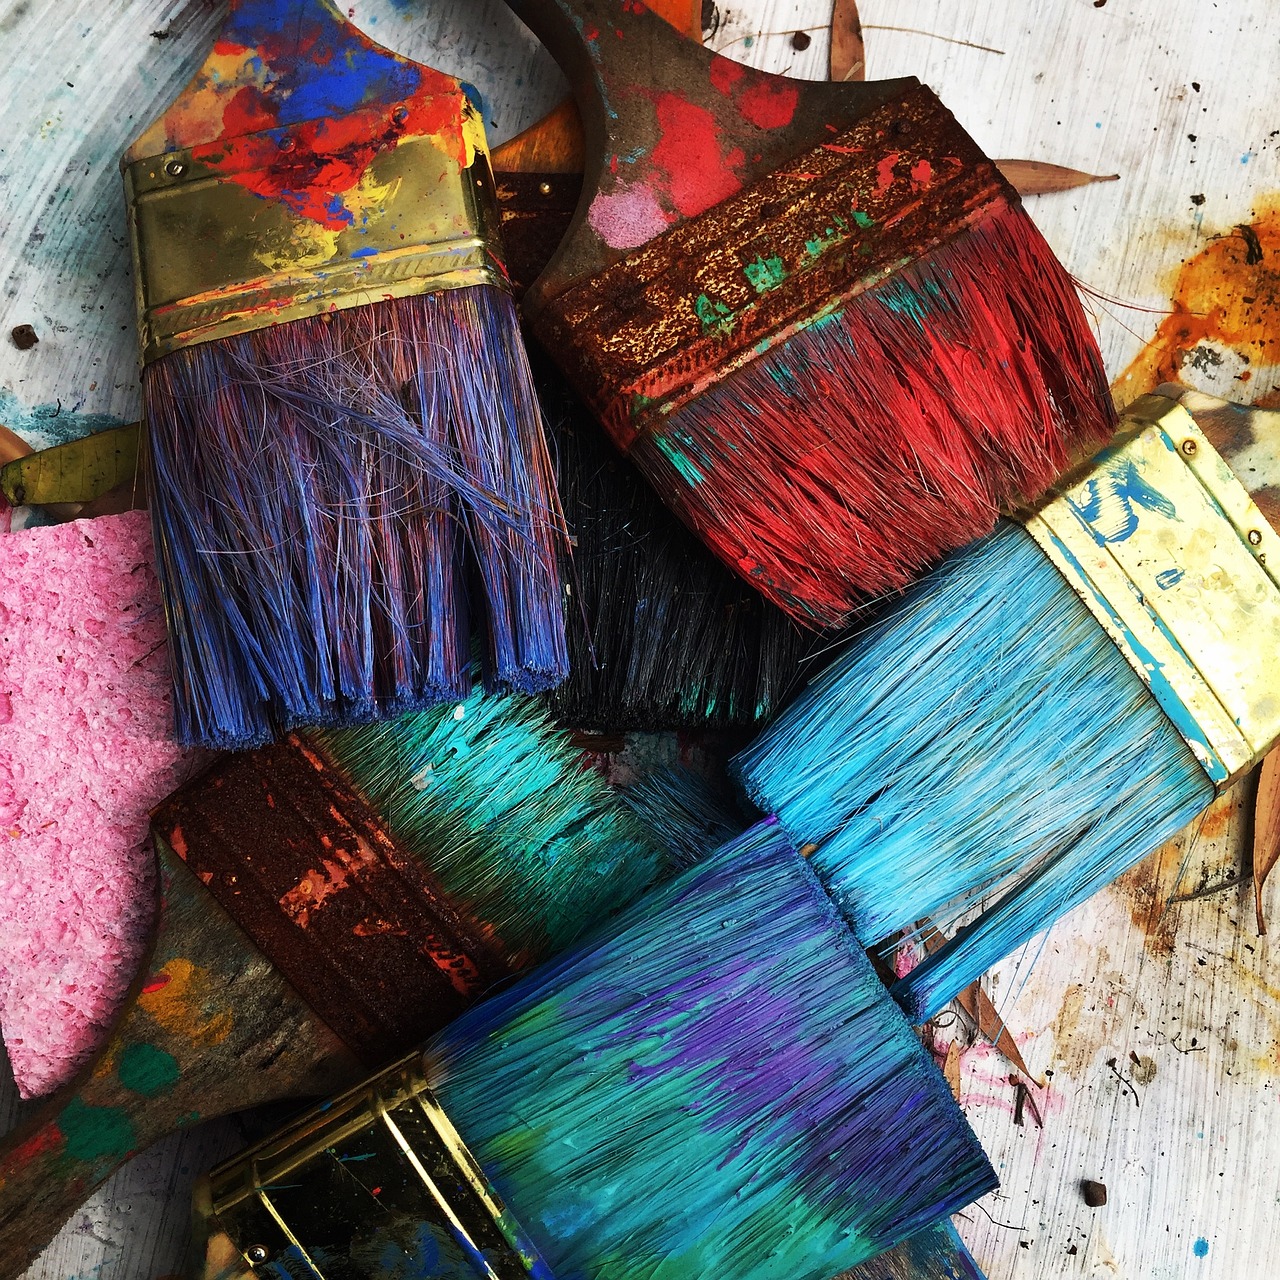
Brushes come in different sizes and shapes, and the best one to use depends on the area being painted. A 2-inch flat brush is ideal for painting narrowboat trim, while a 4-inch brush is better suited for larger areas. A round brush is perfect for painting curved surfaces.
Rollers are ideal for painting large, flat surfaces. They come in different widths and nap lengths, and the right one to use depends on the type of paint being used. A foam roller is ideal for applying water-based paints, while a mohair roller is better suited for oil-based paints.
When using brushes and rollers, it’s important to apply the paint evenly and avoid drips and runs. Start by applying a thin coat of paint, and then wait for it to dry before applying another coat. Use long, smooth strokes and work in the same direction to avoid visible brush or roller marks.
Spray Painting
Spray painting is another option for painting a narrowboat. It’s a quicker and more efficient way to apply paint, but it requires more preparation and equipment than brushes and rollers.
Before spray painting, the narrowboat must be cleaned and sanded to ensure a smooth surface. A spray gun and compressor are required to apply the paint, and a respirator must be worn to protect against fumes.
When spray painting, it’s important to apply the paint evenly and avoid overspray. Start by applying a thin coat of paint, and then wait for it to dry before applying another coat. Use long, smooth strokes and work in the same direction to avoid visible spray marks.
Overall, the key to a successful paint job is proper preparation and application techniques. Whether using brushes and rollers or spray painting, taking the time to do it right will result in a beautiful finish that will last for years to come.
Painting the Narrowboat
When it comes to painting a narrowboat, there are two main areas to focus on: the hull and the fixtures. Each area requires a different approach and set of materials.
Painting the Hull
Before painting the hull, it is important to clean and prepare the surface properly. This involves removing any loose paint, rust, and dirt using a wire brush or sandpaper. Once the surface is clean and dry, a primer should be applied to create a smooth and even base.
When selecting a paint for the hull, it is important to choose one that is specifically designed for marine use. This will ensure that the paint is durable and able to withstand the harsh conditions of the water. It is also important to choose a colour that is appropriate for the narrowboat and complements its overall design.
To achieve a professional finish, it is recommended to apply two coats of paint, allowing sufficient time for each coat to dry before applying the next. It is also important to use the correct brushes and rollers to ensure an even application.
Painting the Fixtures
When painting the fixtures on a narrowboat, it is important to choose a paint that is suitable for the material of the fixture. For example, if painting metal fixtures, a metal primer should be used to ensure that the paint adheres properly.
Before painting, the fixtures should be cleaned and prepared in the same way as the hull. Once the surface is clean and dry, the paint can be applied using a brush or spray gun.
It is important to take care when painting fixtures to avoid getting paint on other areas of the narrowboat. This can be achieved by using masking tape to cover areas that are not being painted.
Overall, painting a narrowboat can be a rewarding and enjoyable task. By following the correct preparation and application techniques, it is possible to achieve a professional and long-lasting finish that will enhance the appearance of the narrowboat.
Signwriting
Signwriting is an essential part of painting a narrowboat. It involves the use of paint to create designs, lettering, and other decorative elements on the boat. The signwriting process requires a steady hand, attention to detail, and a good eye for design.
When it comes to signwriting, the first step is to choose a design. This can be a name, a logo, or any other design that the boat owner desires. Once the design has been chosen, it is important to sketch it out on paper before beginning the signwriting process. This will help to ensure that the design is accurate and that there are no mistakes.
When it comes to painting the design onto the boat, there are a few different techniques that can be used. One common technique is to use stencils. Stencils are pre-made designs that can be used to paint a design onto the boat. They are easy to use and can be very effective.
Another technique is to use a paintbrush. This requires a steady hand and a lot of patience, but it can be a very effective way to create a unique design. It is important to use a high-quality paintbrush and to take your time when painting the design onto the boat.
When it comes to choosing a name for the boat, there are a few things to keep in mind. The name should be easy to read and easy to remember. It should also be unique and reflect the personality of the boat owner. It is also important to choose a name that is not too long, as this can make it difficult to read from a distance.
Overall, signwriting is an important part of painting a narrowboat. It allows boat owners to create unique designs and add a personal touch to their boats. With a steady hand and a good eye for design, anyone can create beautiful signwriting on their narrowboat.
Finishing Touches
Gloss Finish
Once the boat is painted and dried, it’s time to apply a gloss finish. This topcoat will protect the paint and give it a shiny, polished look. It’s important to choose a gloss finish that is suitable for marine environments and can withstand the wear and tear of daily use.
Before applying the gloss finish, make sure the boat is clean and free of any debris. Use a fine-grit sandpaper to lightly sand the surface to ensure the gloss finish adheres properly. Apply the gloss finish using a foam roller or paintbrush, following the manufacturer’s instructions.
Winter Maintenance
To keep the boat looking its best, it’s important to perform regular maintenance, especially during the winter months when the boat may not be in use. Here are some tips for winter maintenance:
- Wash the boat with a gentle soap and water to remove any dirt or grime.
- Apply a coat of wax to protect the paint and prevent rust.
- Check the boat for any signs of damage or wear and tear, such as cracks or peeling paint.
- Make any necessary repairs before storing the boat for the winter.
By following these tips, you can ensure your narrowboat stays looking its best for years to come.
Costs and Budgeting
When it comes to painting a narrowboat, costs and budgeting are crucial factors to consider. Before starting the project, it’s important to determine how much you’re willing to spend on materials and labour. Here are some things to keep in mind when budgeting for a narrowboat painting project.
Material Costs
The cost of materials will depend on the size of your narrowboat and the type of paint you choose. Generally, marine-grade paints are more expensive than regular paints, but they offer better protection against water damage and fading. Other materials you’ll need include sandpaper, primer, and brushes or rollers.
Labour Costs
If you plan on hiring a professional to paint your narrowboat, labour costs will be a significant part of your budget. The cost will depend on the size of your boat and the experience of the painter. It’s important to get quotes from multiple professionals to compare prices and ensure you’re getting a fair deal.
DIY vs Professional
If you’re on a tight budget, painting your narrowboat yourself can save you a lot of money. However, keep in mind that it can be a time-consuming and challenging task, especially if you don’t have experience with painting boats. If you choose to hire a professional, make sure to factor in the cost of labour when budgeting for the project.
Other Considerations
In addition to material and labour costs, there are other expenses to keep in mind when painting a narrowboat. For example, you may need to rent a dry dock or pay for transportation if you’re taking your boat to a professional painter. It’s also a good idea to set aside some money for unexpected expenses, such as repairs or additional materials.
Overall, budgeting for a narrowboat painting project requires careful consideration of all the costs involved. By doing your research and planning ahead, you can ensure that you stay within your budget while still achieving the desired results.
Conclusion
Painting a narrowboat can be a challenging task, but with the right preparation and tools, it is possible to achieve a professional-looking finish. Throughout the process, it is important to take your time and pay close attention to detail, as this will help to ensure that the final result is both durable and aesthetically pleasing.
One of the most important steps in painting a narrowboat is to properly prepare the surface. This involves removing any existing paint or rust, cleaning the surface thoroughly, and applying a suitable primer. Once the surface is properly prepared, it is important to choose a high-quality marine paint that is designed to withstand the harsh conditions of life on the water.
When painting a narrowboat, it is also important to pay attention to the weather conditions. Ideally, you should choose a dry, warm day with low humidity to ensure that the paint dries properly. It is also important to work in a well-ventilated area to avoid inhaling fumes from the paint.
Overall, painting a narrowboat requires patience, attention to detail, and a willingness to put in the time and effort required to achieve a high-quality finish. With the right tools and techniques, however, it is possible to transform an old, worn-out boat into a beautiful, eye-catching vessel that will turn heads on the water.